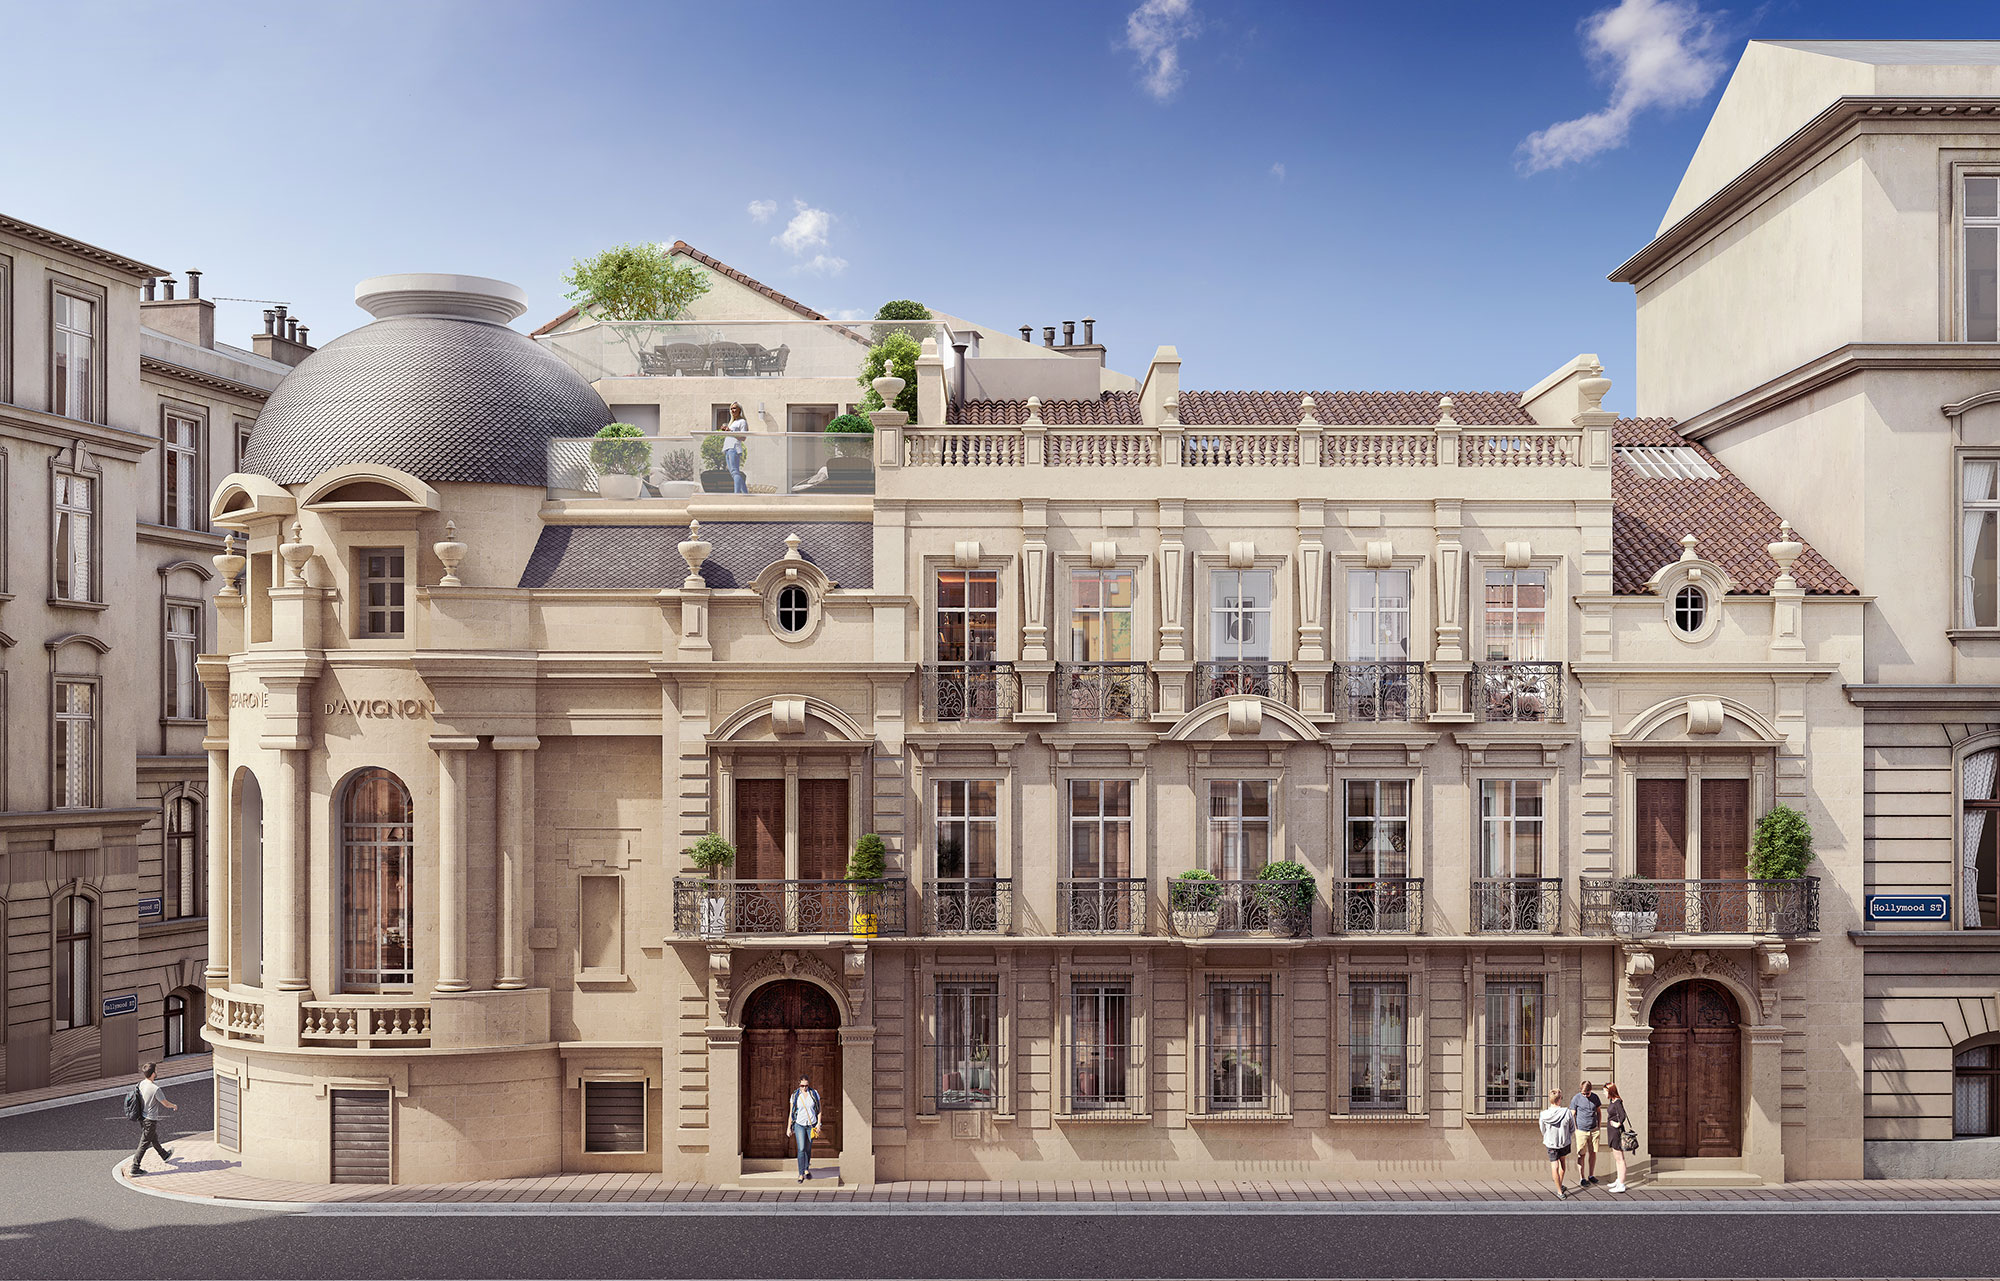
3D visualization is an important part of any real estate project. It enables real estate and architectural projects to be presented as close to reality as possible. To achieve attractive, creative images, it is necessary to go through a number of key stages.
Indeed, the success of a 3D visualization project depends on identifying your needs, gathering essential data and other key steps. If you're a property developer, find out below how your 3D graphic designer can help you make your project a success.
Identifying requirements for the 3D visualization project
To ensure the success of your 3D visualization project, your designer analyzes your needs and gathers all the information required for modeling.
Analysis of project needs and objectives
The 3D graphic designer takes the time to talk with you. In fact, the interview helps us to understand your objectives and what's at stake. It helps to better understand the functional and aesthetic requirements of the project, as well as any constraints that may arise.
To create a 3D visualization that fully meets your needs, there are a number of elements that can help you refine your specifications. These include a project presentation, sketches and/or a detailed description.
An in-depth analysis of this data is then carried out. This enables your 3D graphic designer or project team to guide the next steps from modeling to final rendering.
Collecting data
In addition to your expectations, other data are also essential for visualization: materials used, exact dimensions, openings and other relevant specifications.
This information can be gathered during the interview. To improve the rendering, your 3D graphic designer will carry out further research.
Other means of gathering data includeexamining existing documents such as architectural plans and product data sheets, or carrying out on-site surveys to obtain precise measurements.
By combining these different approaches, your 3D expert can gain a complete and detailed understanding of the data needed to produce a high-quality 3D visualization that meets your requirements.
Drawing up a quotation
Drawing up an estimate is an important step in any 3D visualization project. Before the actual design work begins, you and your graphic designer need to agree on costs and deadlines. It's important to clarify the budget and timetable.
This is important to avoid misunderstandings and potential disputes. What's more, transparency in establishing costs and deadlines means you can work together with greater peace of mind and confidence.
Modeling the 3D visualization project
Once your data is complete, your 3D graphic designer will move on to modeling the project.
3D model creation
Various types of modeling are used to create the 3D model. Your expert will design according to specifications, project needs and type of finish.
For static perspectives, where still images are used to represent the real estate project, detailed and realistic modeling is required. For this, the graphic designer will create the scene from 2D plans and 3D modeling software such as SketchUp, Blender or Autodesk Revit.
For 3D animations, the model needs to be animated to present the project from different angles and perspectives. Software such as Autodesk 3ds Max, Cinema 4D or Maya are often used. Among other things, they enable motion control.
They also take into account the fluidity of movements and the coherence of object anatomy, to create dynamic and convincing animations.
For virtual models, the scene has to be interactive and allow immersive exploration. To achieve this, the team uses software such as Unity3D and Unreal Engine. These help create immersive, interactive environments.
Modeling performance is optimized for fluid use in real time. Whether it's a 3D model, a 3D perspective or a 3D animation, your graphic designer always assembles a blank version.
This key stage of the 3D visualization project is crucial, as it lays the foundations of the design so that you can validate them. During this phase, all the main elements of the scene will be put in place without color or texture. The aim is to create a simplified but functional version of the project visualization.
Using the appropriate software for the required finish, the designer can create the basic shapes and main structures of the model.
It's important to know that this blank version serves as a backdrop for subsequent iterations. It provides a solid basis for adding details and any specific elements.
Revision and adjustment
Once the blank version has been created, it's time for the revision and adjustment phase. This stage of the 3D visualization project is an important one, as it enables any necessary corrections to be made and the scene to be finalized.
It gives you a first glimpse of the scene. You can examine the initial version of the model, express your preferences and request modifications according to your specific needs. The graphic designer is responsive and flexible to requests for improvement.
He will provide his expertise to ensure that modifications respect project objectives and technical constraints. This close collaboration enables us to refine the model and ensure that the final rendering meets all your requirements.
Add details and specific elements
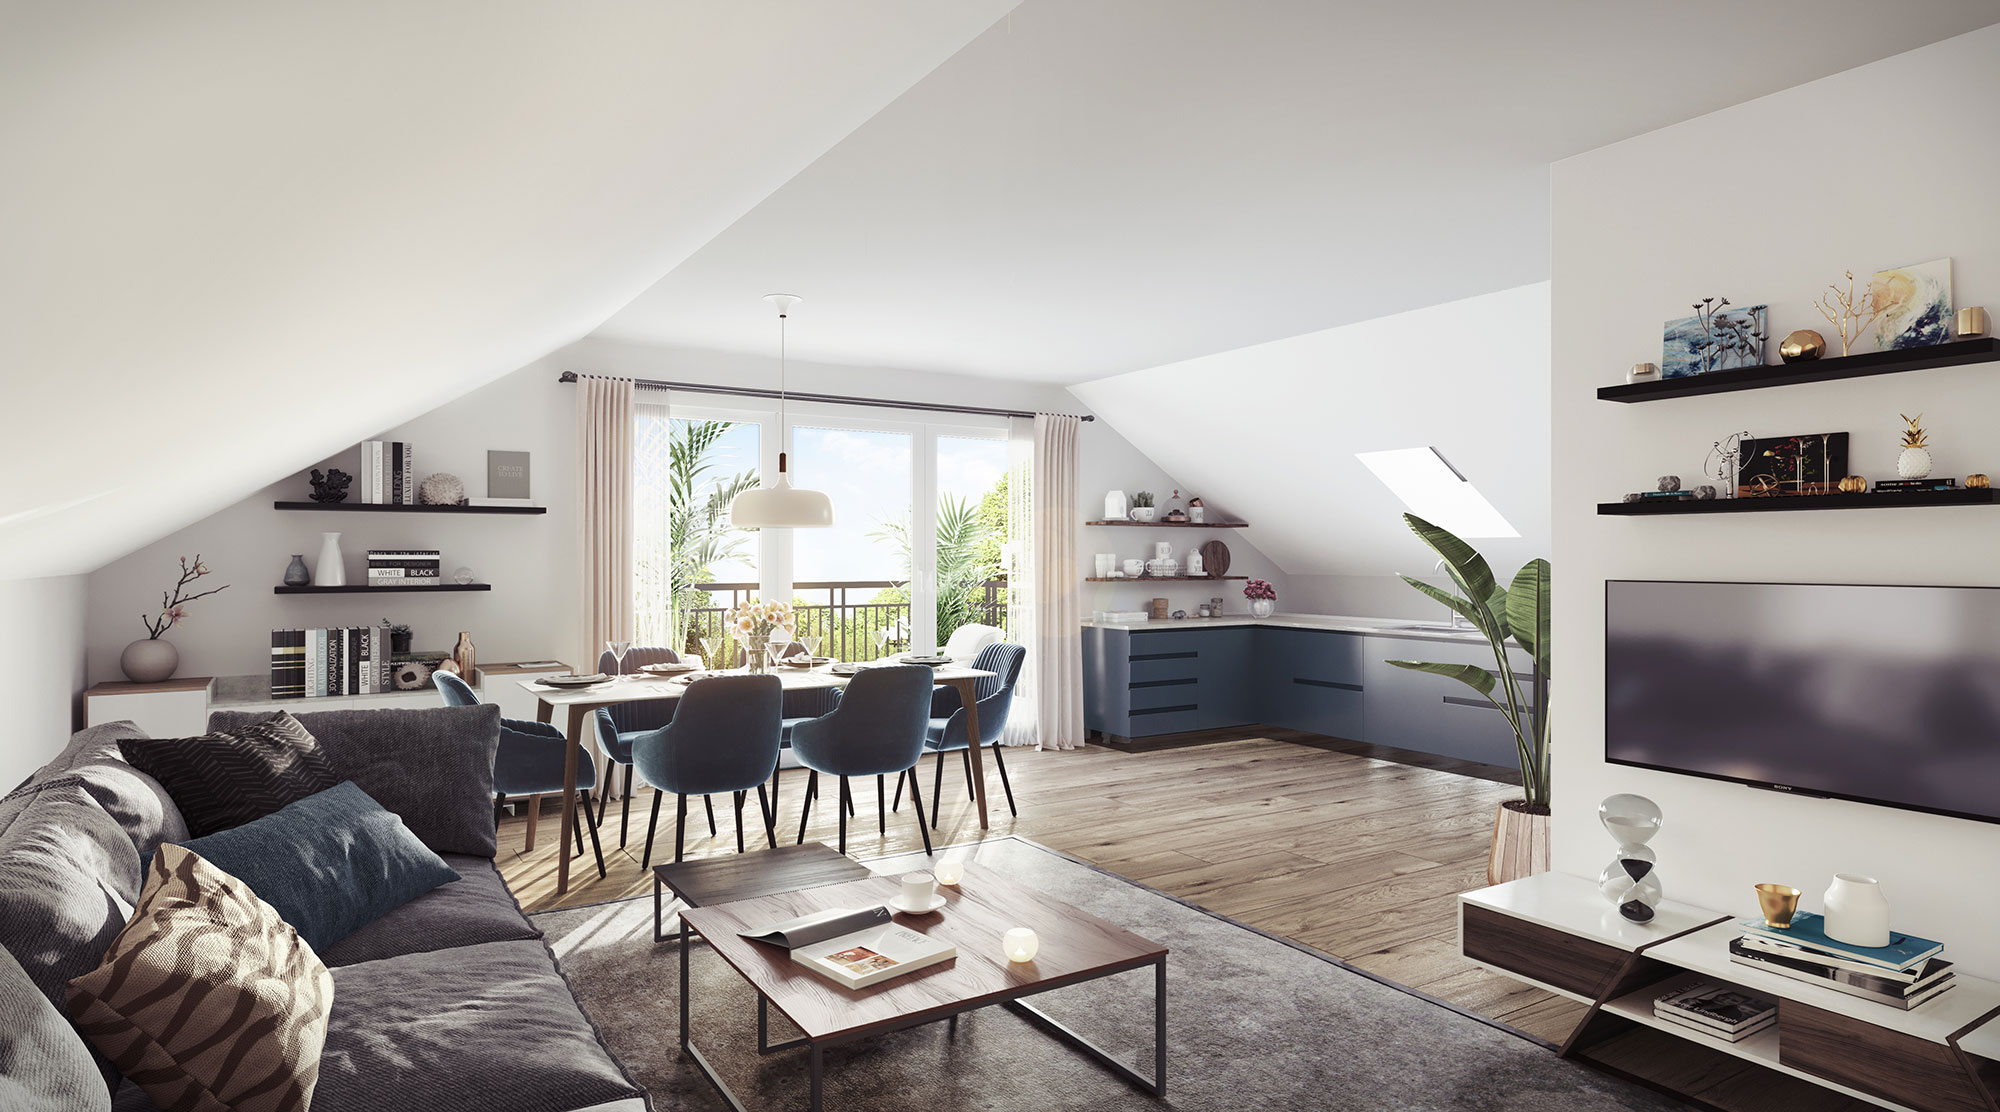
Once the adjustments have been validated, the next step in the 3D visualization project is to add elements and details to the scene. These include color, finish, texturing, light, shadow, sound (if required) and decoration to the 3D model.
This phase is crucial to bring the model to life, and to give it realism and aesthetic appeal. Textures are applied to surfaces to represent the materials to be used, such as wood, metal or glass. Lights are positioned to create moods and visual effects.
Shadows and reflections are adjusted for a more realistic look. Decorative elements such as furniture, plants and other accessories are added to enrich the environment and make it more welcoming.
During this stage, your 3D artist will pay meticulous attention to detail to produce a convincing and attractive final 3D model.
Finalization and validation of the 3D visualization project

Once all the modifications have been taken into account and the details added, your 3D graphic designer can finally finalize the project. However, he can still discuss with you whether the added details really do meet your expectations.
If the changes and elements comply with the requirements, your graphic designer proceeds with testing and the final version. If not, he must make the necessary adjustments. This may involve modifying textures, changing lighting, adding sound or many others.
Only then can the expert carry out a series of tests to verify the quality and consistency of the project. This involves evaluating the visual appearance of the model under different lighting and environmental conditions.
Once the project has been refined and tested, it's time to present you with the final version for final validation. This key stage in the 3D visualization project usually involves a meeting or presentation.
During the meeting, you can carefully examine the project in its entirety and provide final comments.
If you give your final approval, the project can be considered validated and ready for delivery. At this stage, all the necessary files and documents are organized and prepared for hand delivery or electronic delivery, depending on your preferences.
Entrust your 3D visualization projects to the pros!