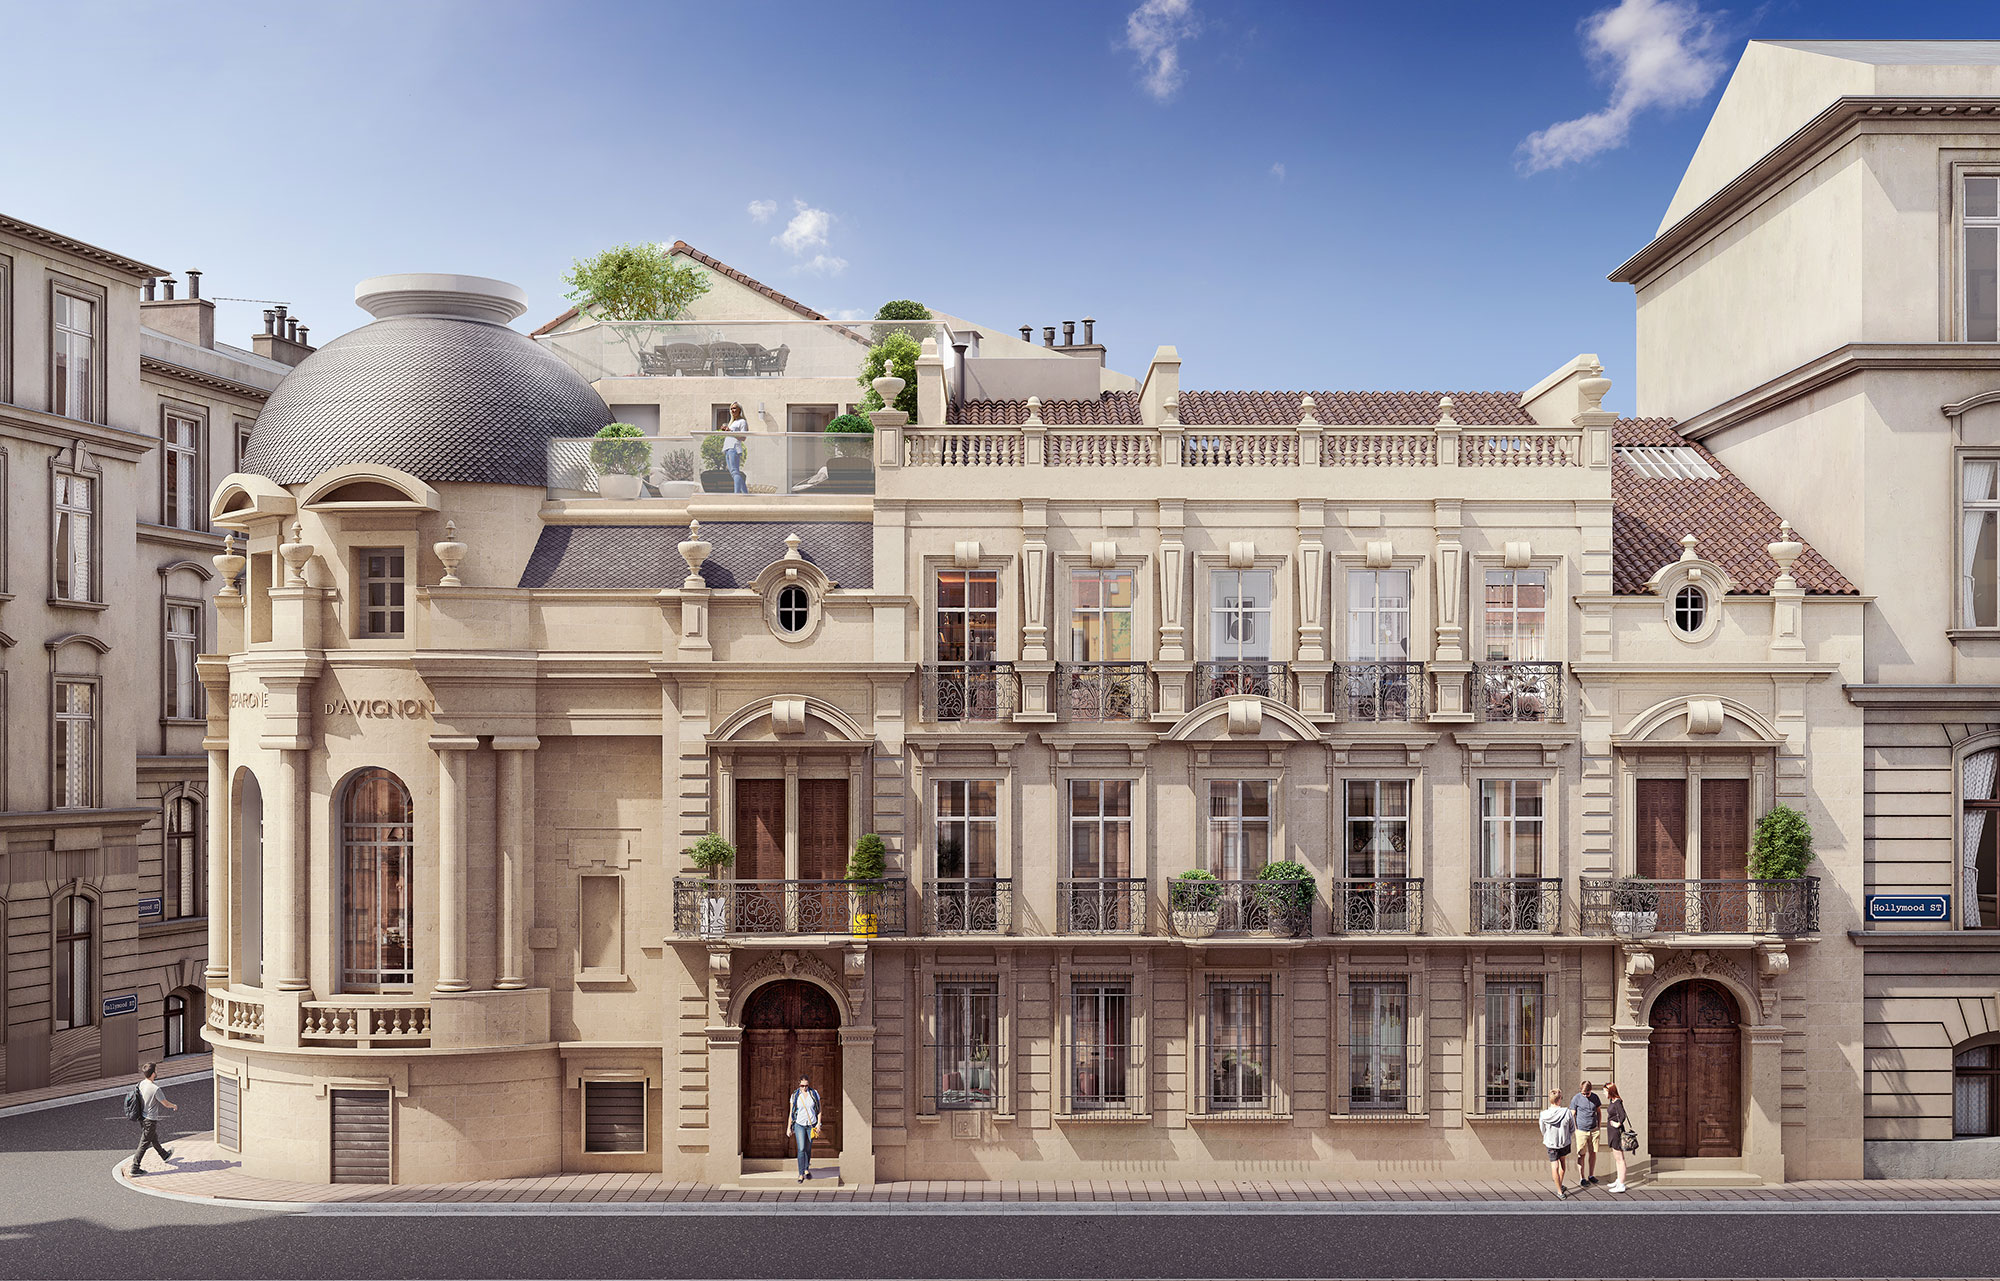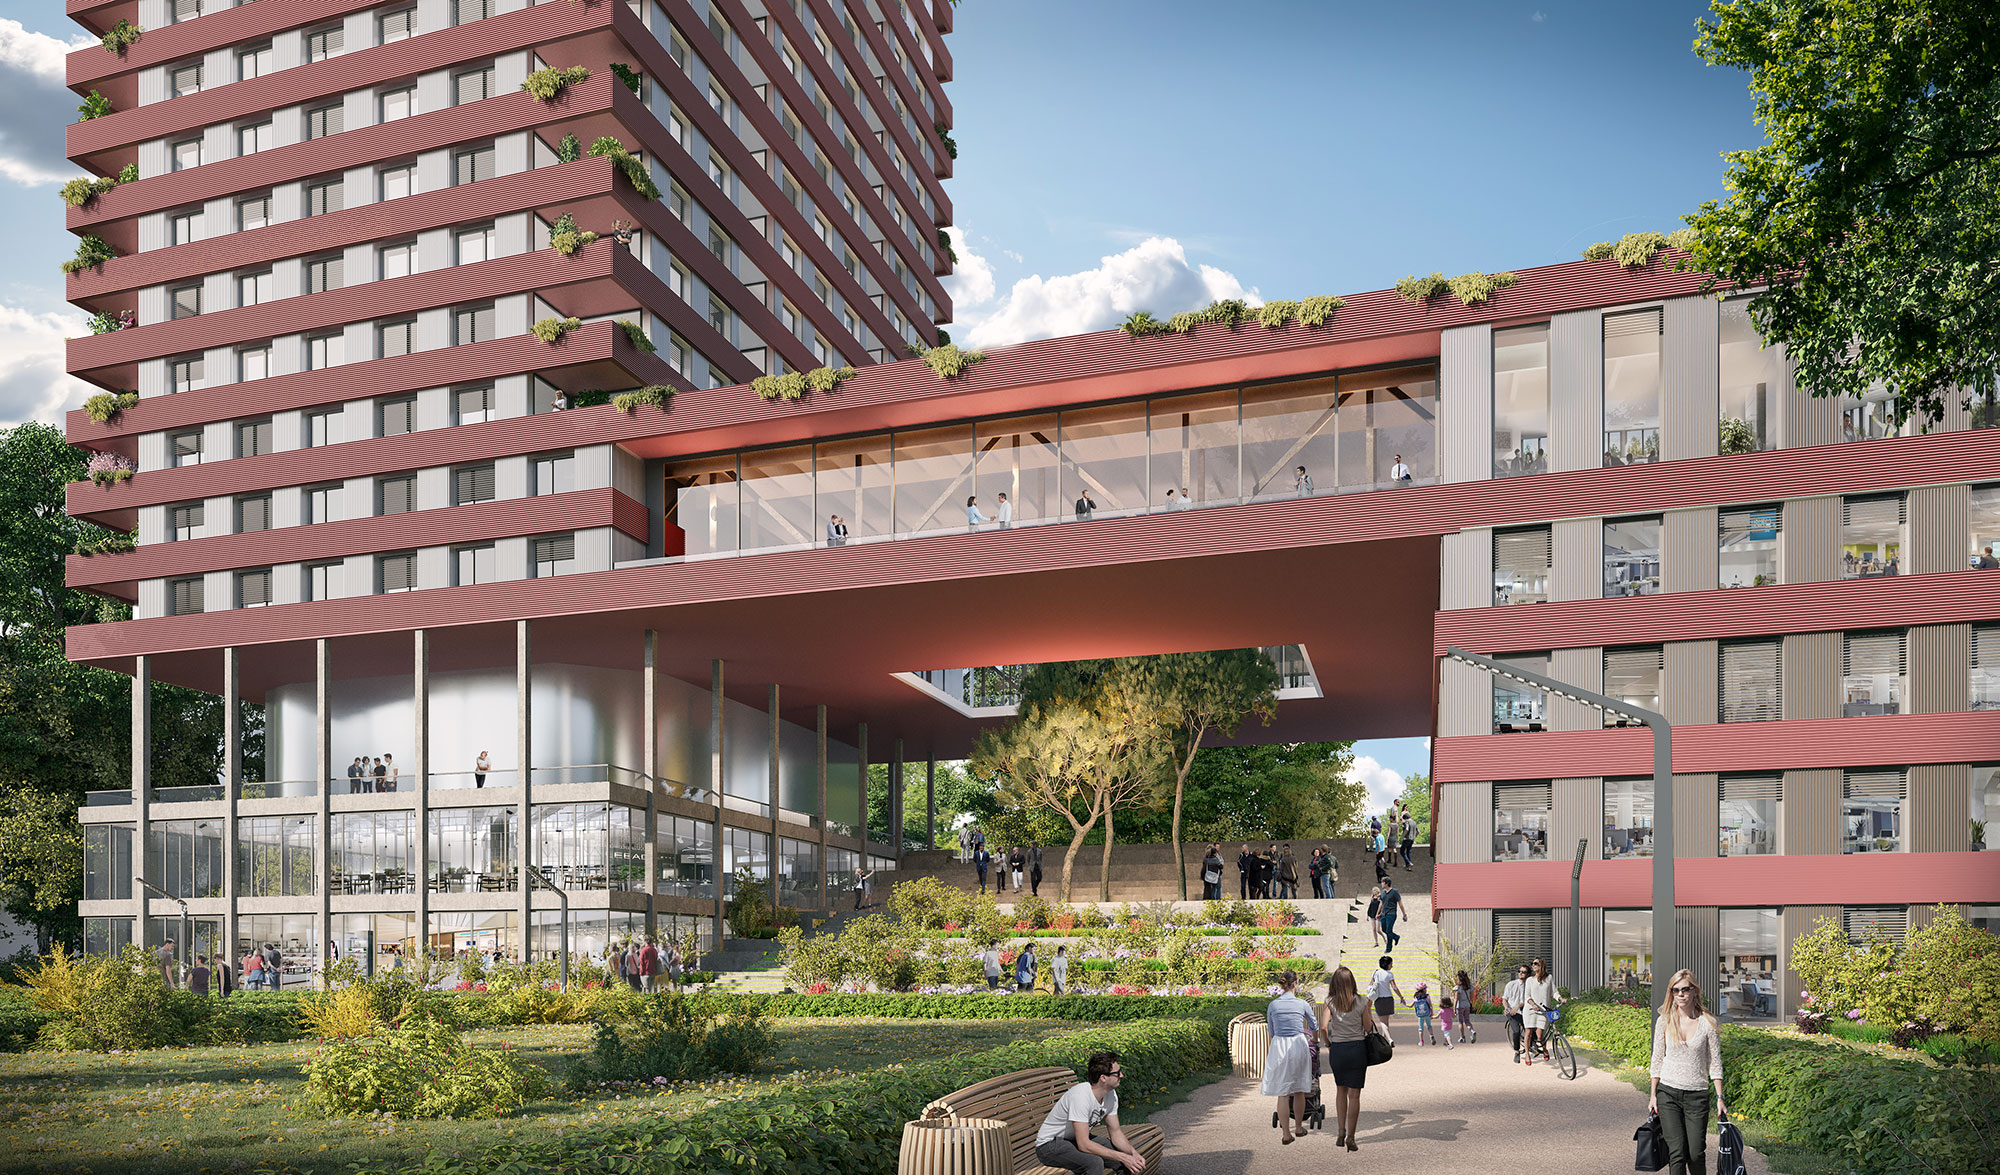
The 3D plan is one of the key elements of real estate marketing. Immersive, realistic and concrete, it brings clarity and excitement to your real estate project. We've been creating 3D plans for over 20 years, and in this article we explain how we create stunning 3D renderings for real estate developers.
Step 1: Modeling the 3D plan
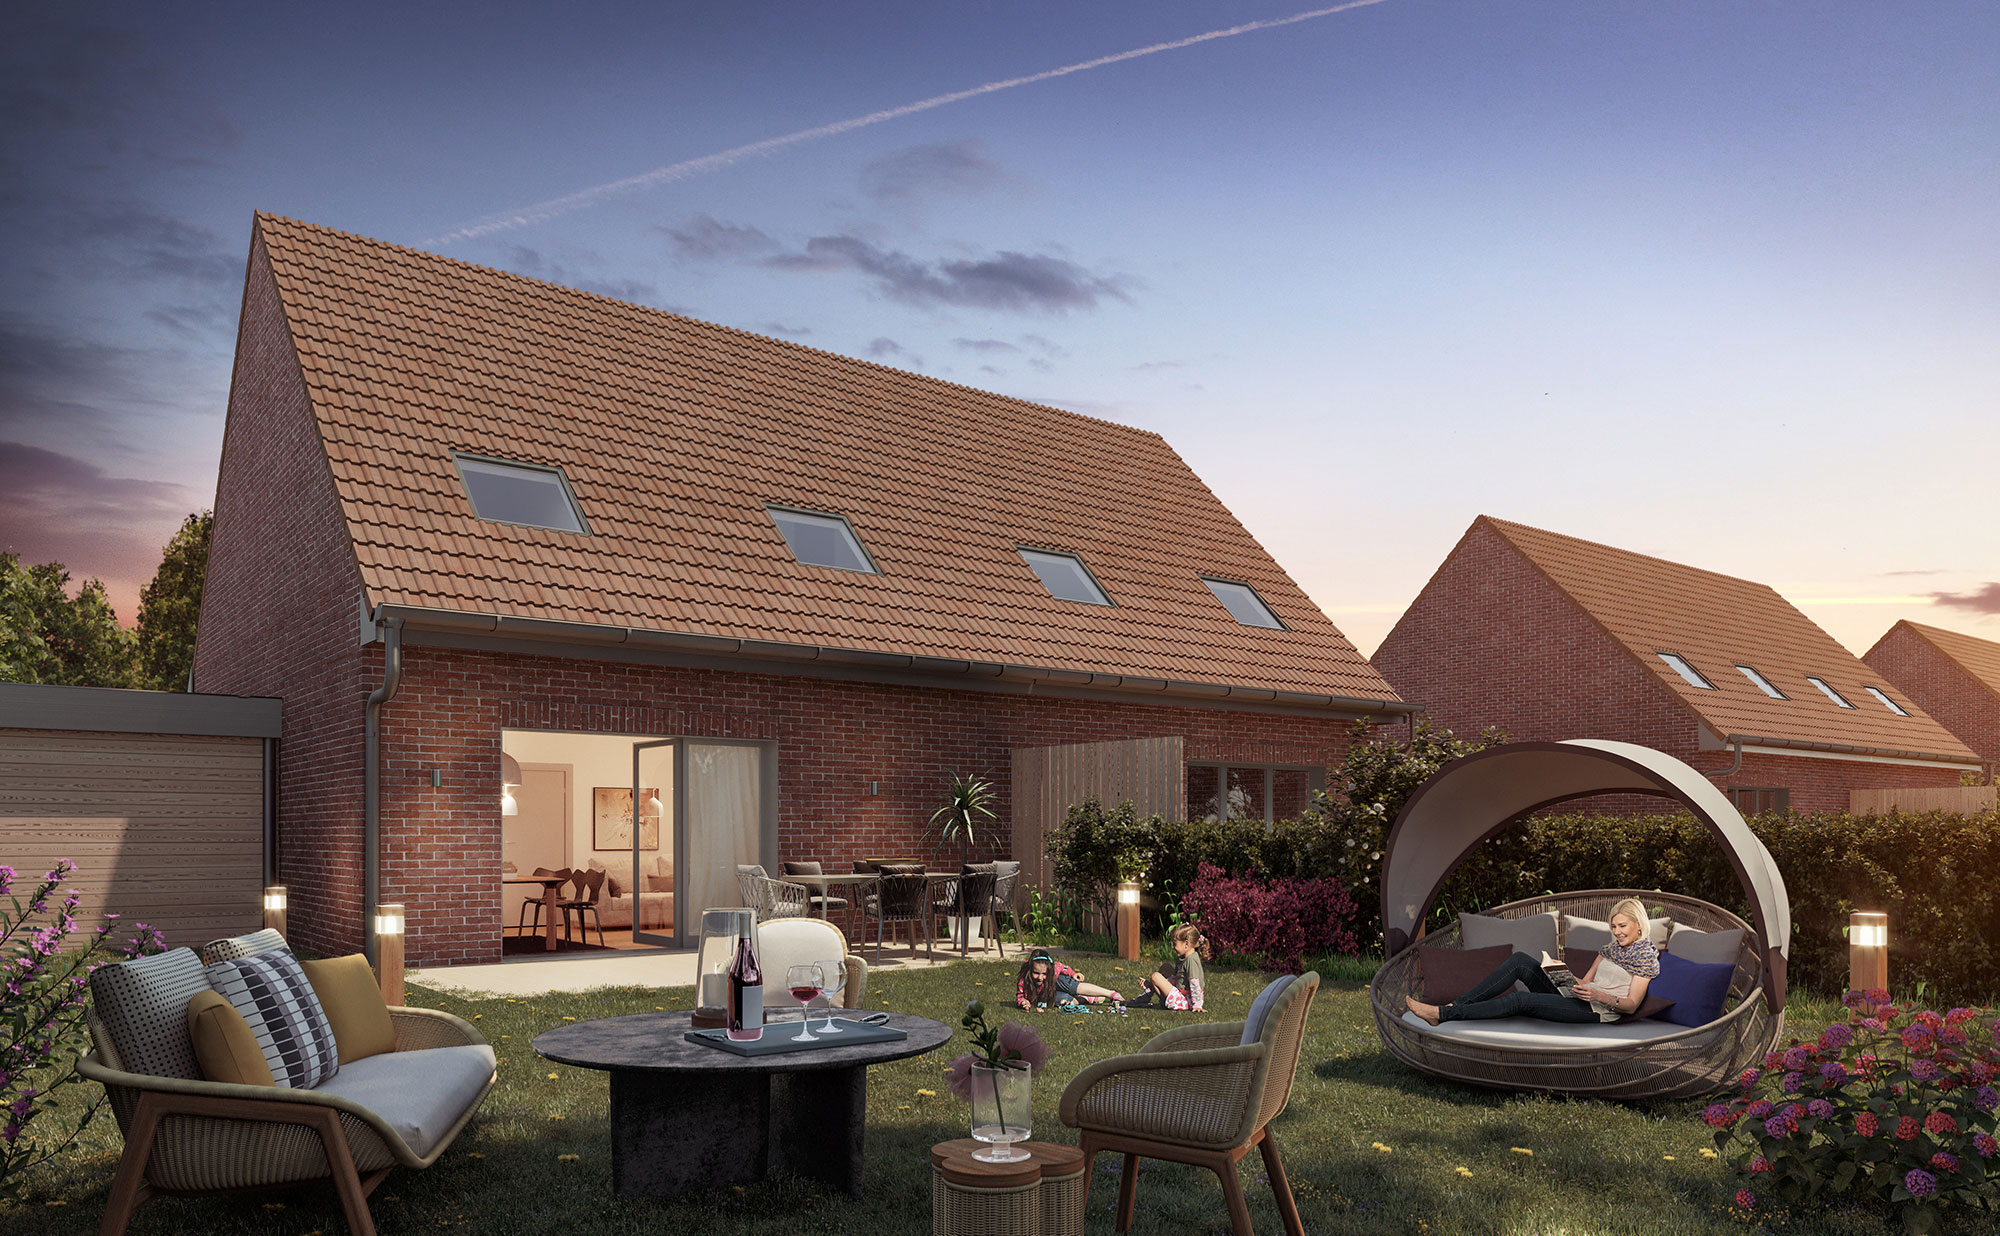
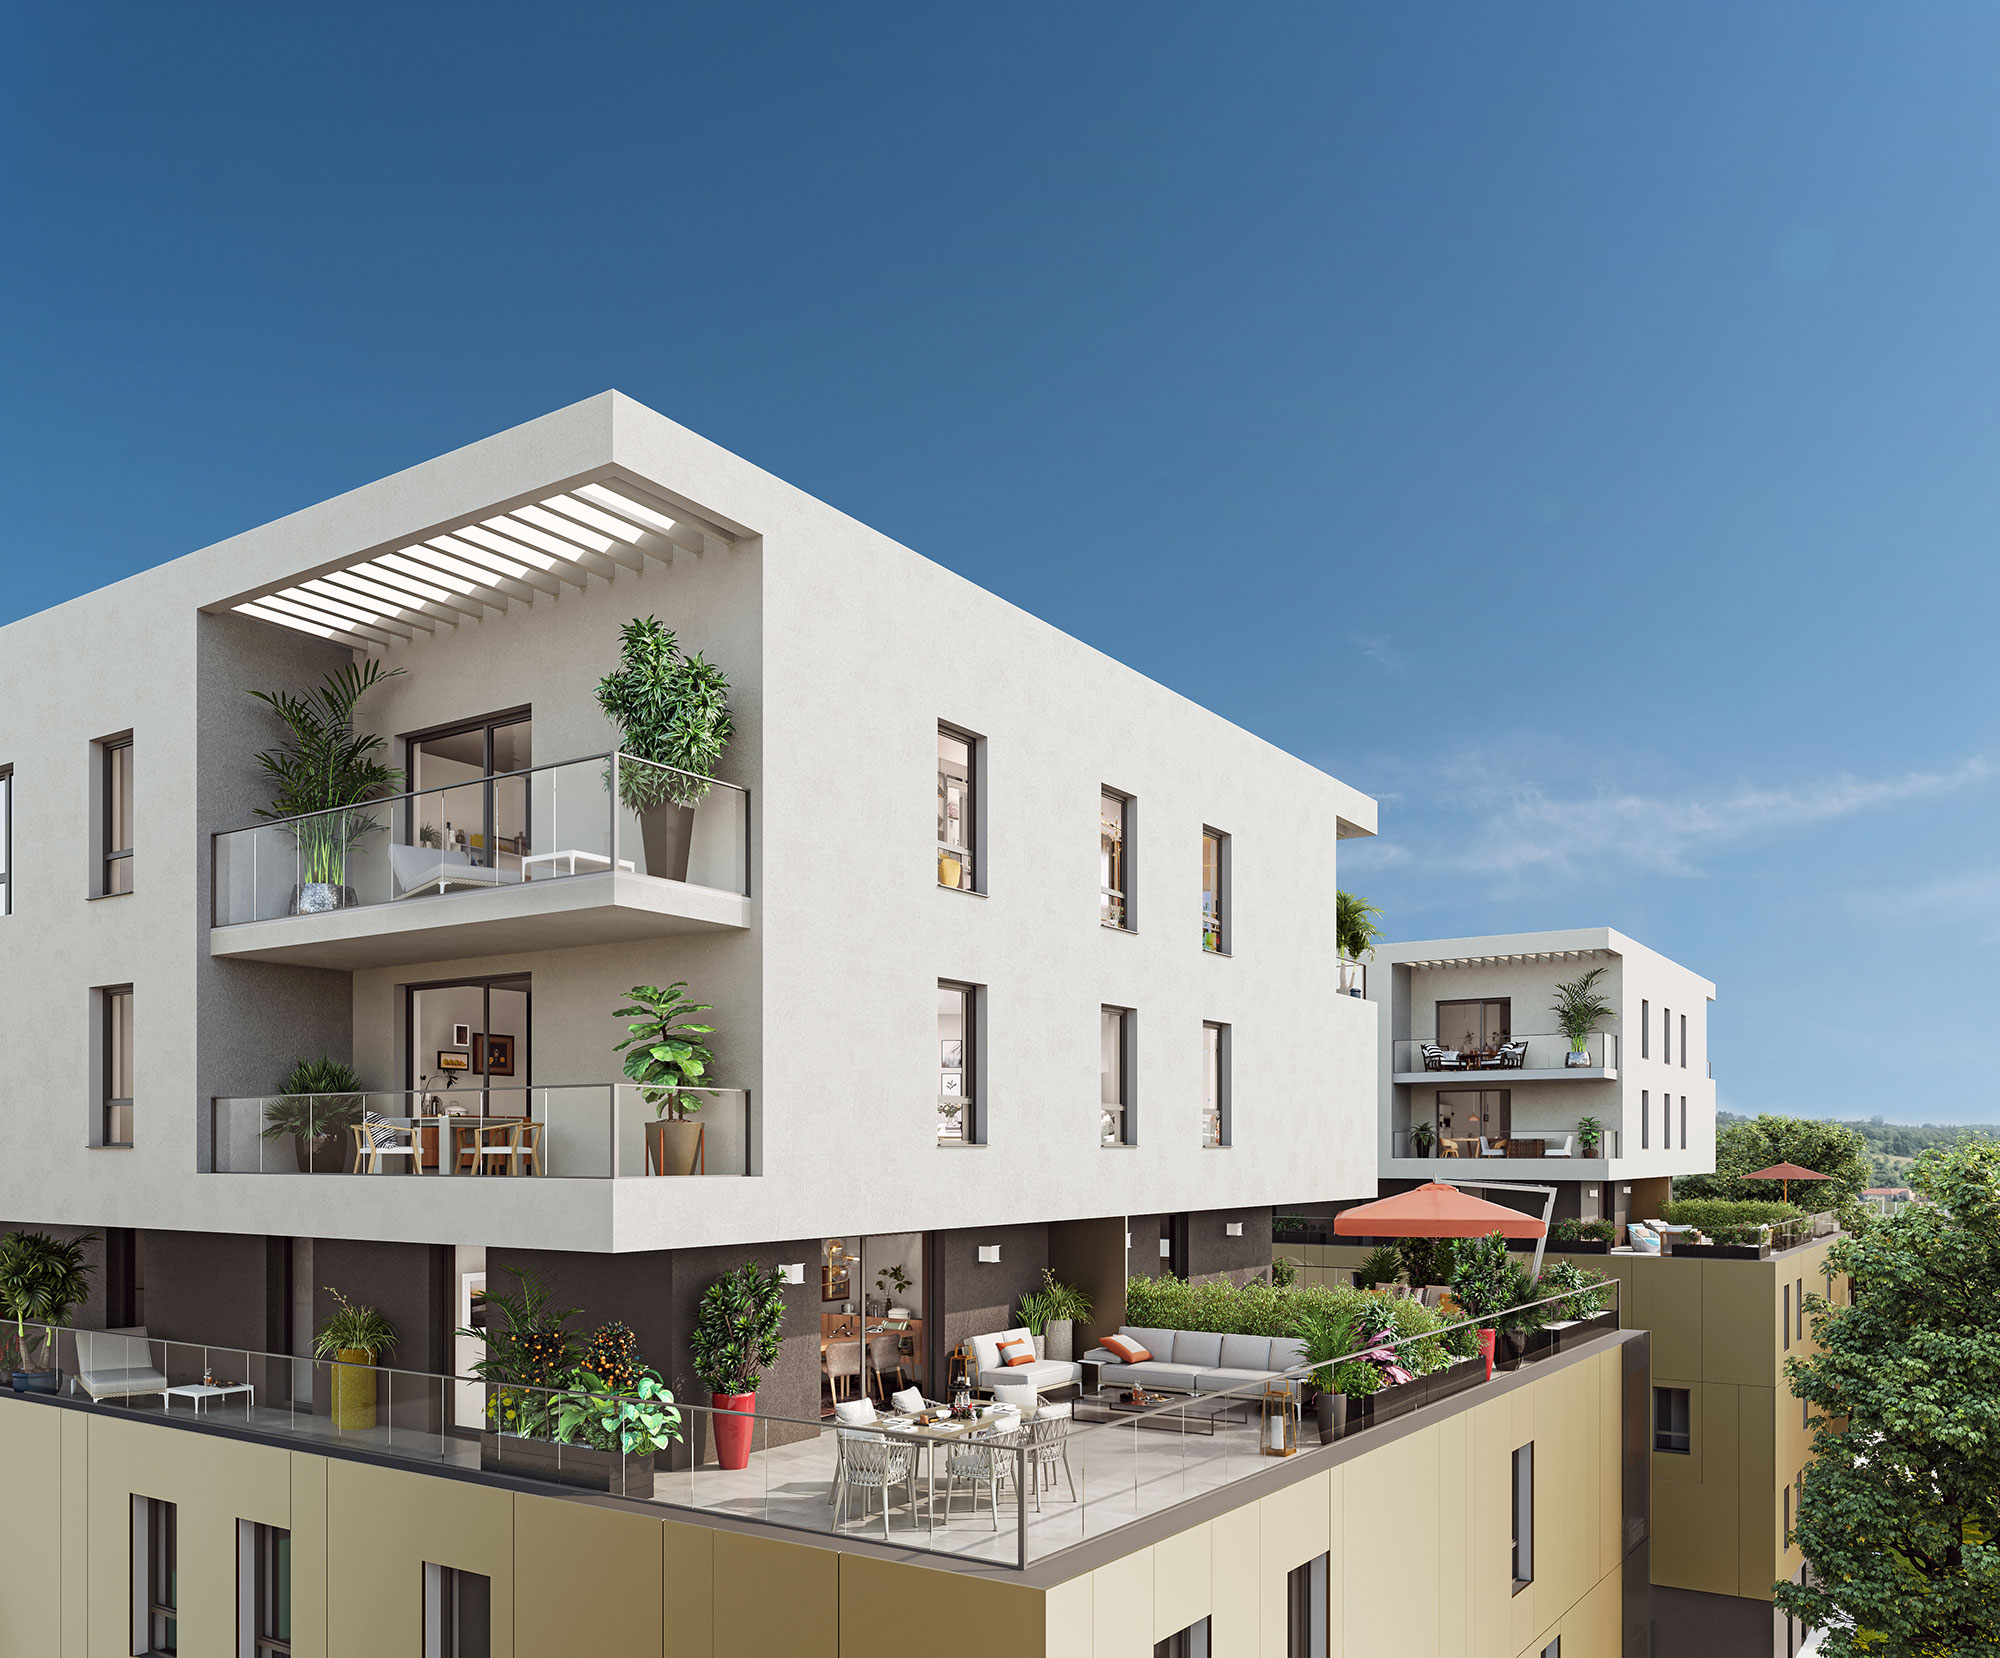
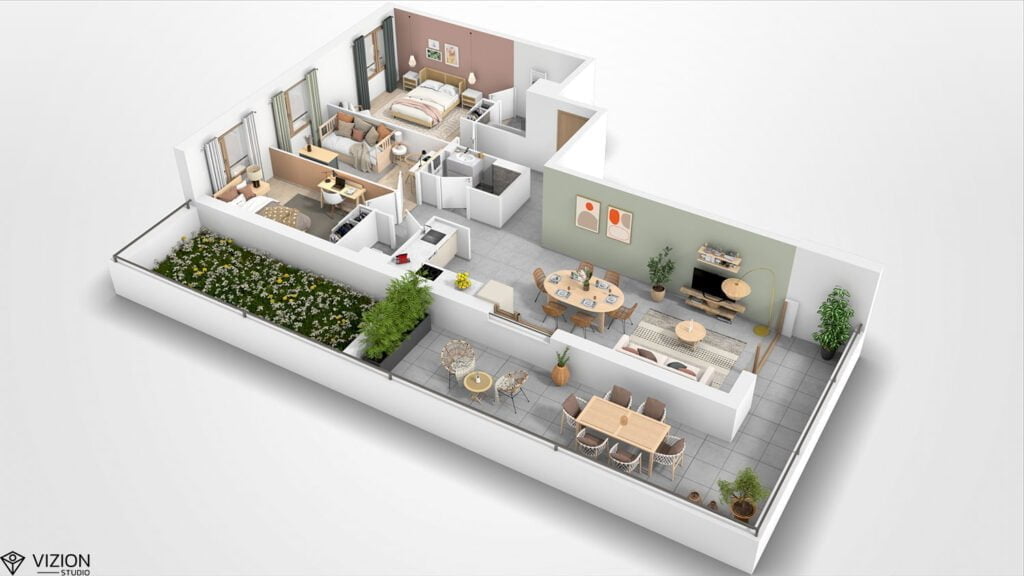
The creation of a 3D plan begins with the design of the stage. Our 3D studio uses your specifications and the architect's plan as the basis for the project's skeleton. In particular, our computer graphics artists work on the assembly of walls, doors, windows and staircases, in order to lay out the first rooms. Each room is made to scale, to provide a realistic rendering for your prospects and buyers. We can also create the exterior parts of the stage, such as spaces for fencing, terraces, driveways, garages or swimming pools if required. It's a simple structure that we'll propose to you for validation.
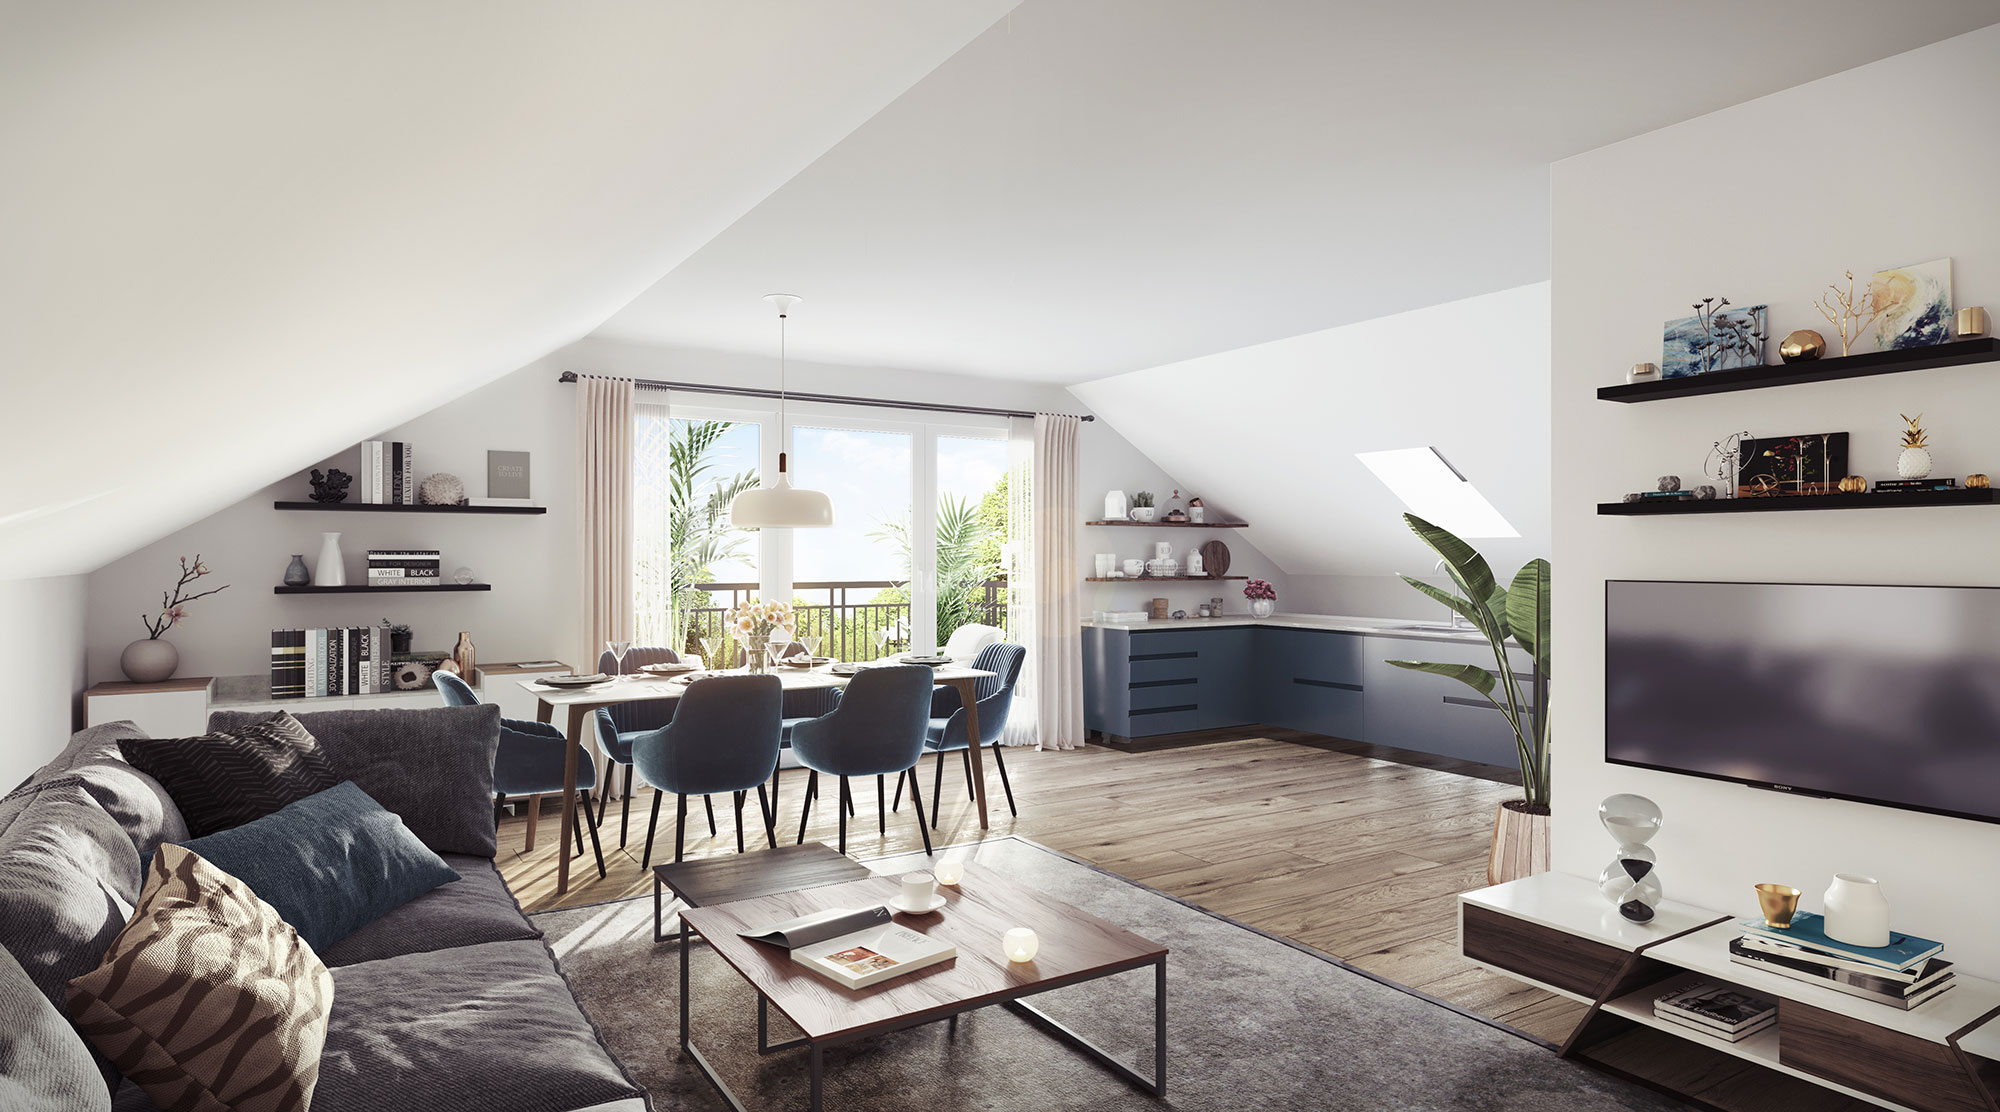
Step 2: Decorating the 3D rendering
The advantage of 3D is its unfailing realism. To represent your real estate program, we create the ideal atmosphere through room decoration. Whether you've decided to build offices or apartments, our team of decorators will create the ideal layout.
We differentiate each room before installing the corresponding furniture. Chairs, tables, beds, kitchen equipment and desks are integrated into each space. We also add decorative details such as pictures, cushions, floor lamps, etc. To create a 3D plan that will convince your buyers, we can even model the furniture of your choice in 3D. We also design the exterior landscape, such as trees and lawns.
Step 3: Adding textures
To add character to your 3D plan, we add textures, colors and shadows to your project. Floor and wall coverings are designed to be realistic and pleasing to the eye. We can simulate the appearance of a wide range of materials, including chrome, wood, tiles, aluminum...
Our graphic designers set up the natural lighting, as well as the light coming from the lamps, to simulate the look of the room. To enhance the final look, we add shading elements on walls, furniture and even around lamps. This ensures that your project is presented in the best possible light, immersing your prospects in the heart of it.
Step 4: Checking 3D plan details
Before exporting your 3D plan, we carry out final checks. Meticulous, we inspect every detail to avoid any lack of texture or consistency. We take care to check one last time that our creations comply with your specifications. We send you this verified and sublimated version for your approval.
Step 5: Delivery of your 3D plan
Once your 3D plan has been validated, we export the final rendering. All you have to do is use it for your real estate marketing. Posters, websites and social networks are all perfectly suited to this 3D tool.